How to Manage CI/CD with Microsoft Azure DevOps

In today's fast-paced software development world, you need to manage CI/CD effectively to ensure smooth and efficient workflows. Continuous Integration and Continuous Deployment (CI/CD) streamline the process of building, testing, and deploying applications. Microsoft Azure DevOps offers a powerful platform to manage CI/CD, providing tools that automate these tasks. By using Azure DevOps, you can enhance collaboration, reduce errors, and accelerate delivery times. This tool empowers you to focus on innovation while maintaining high-quality standards in your projects.
Setting Up Your Azure DevOps Environment
Creating an Azure DevOps Account
Signing up for Azure DevOps
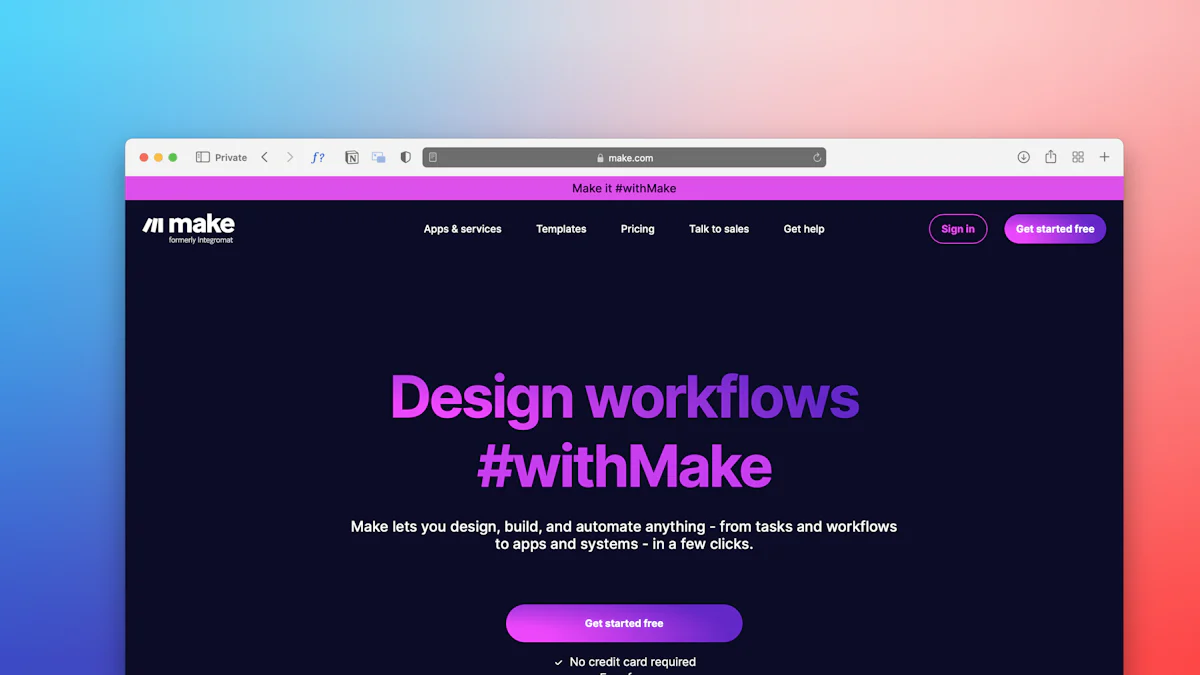
To begin your journey with Azure DevOps, you need to create an account. Visit the Azure DevOps website and click on the "Start free" button. You will be prompted to sign in with a Microsoft account. If you don't have one, you can create it quickly. Once signed in, follow the on-screen instructions to complete the registration process. This step grants you access to Azure DevOps services.
Navigating the Azure DevOps Dashboard
After signing up, you will land on the Azure DevOps dashboard. This dashboard serves as your control center. Familiarize yourself with its layout. You will see options like "Projects," "Repos," "Pipelines," and more. Each section offers specific functionalities. Spend some time exploring these features. Understanding the dashboard will help you manage your projects efficiently.
Configuring Your Project
Setting up a new project
Creating a new project is your next step. On the Azure DevOps dashboard, click on "New Project." Provide a name and description for your project. Choose the visibility setting—public or private—based on your needs. Click "Create" to set up your project. This action establishes a workspace where you can organize your code, pipelines, and other resources.
Organizing repositories and teams
Efficient organization is key to successful project management. Start by creating repositories within your project. Repositories store your code and related files. Navigate to the "Repos" section and click "New Repository." Name your repository and choose its type—Git or TFVC. Once created, you can start adding code.
Next, focus on team organization. Go to the "Project Settings" and select "Teams." Here, you can create teams and assign members. Define roles and permissions to ensure smooth collaboration. Proper organization of repositories and teams enhances productivity and streamlines your development process.
Understanding CI/CD Pipelines
What is a CI/CD Pipeline?
A CI/CD pipeline automates the process of integrating and deploying code changes. You manage CI/CD by breaking it down into several components:
Definition and components
Continuous Integration (CI): This involves automatically testing and integrating code changes into a shared repository. You ensure that new code works with existing code.
Continuous Deployment (CD): This automates the release of code to production. You deploy updates quickly and efficiently.
Stages: A pipeline consists of stages like build, test, and deploy. Each stage performs specific tasks.
Triggers: These initiate the pipeline. You can set them to start automatically when code changes occur.
Benefits of using pipelines
Efficiency: Automating tasks reduces manual work. You save time and minimize errors.
Consistency: Pipelines ensure consistent processes. You maintain quality across deployments.
Speed: Faster integration and deployment mean quicker delivery. You respond to market demands swiftly.
How Azure DevOps Supports CI/CD
Azure DevOps provides robust tools to manage CI/CD effectively. You leverage these tools to streamline your development process.
Overview of Azure Pipelines
Azure Pipelines is a cloud service that supports CI/CD. You can build, test, and deploy applications across platforms.
YAML Configuration: Define pipelines using YAML. You gain flexibility and control over your processes.
Cloud-hosted Agents: Use Microsoft-hosted agents for running jobs. You avoid managing infrastructure.
Key features and integrations
Integration with GitHub: Connect Azure DevOps with GitHub. You manage CI/CD directly from your repositories.
Artifact Management: Store and manage build outputs. You ensure smooth transitions between stages.
Extensive Integrations: Azure DevOps integrates with various tools. You enhance functionality and streamline workflows.
By understanding and utilizing these features, you manage CI/CD with Azure DevOps efficiently. You create a seamless development environment that fosters innovation and quality.
Building a CI Pipeline in Azure DevOps
Setting Up Build Pipelines
Creating a build pipeline
To create a build pipeline, start by navigating to the "Pipelines" section in Azure DevOps. Click on "New Pipeline." Choose your code repository, whether it's GitHub, Azure Repos, or another source. Follow the prompts to select a template or define your pipeline using YAML. This setup allows you to automate the build process, ensuring that your code compiles and functions correctly.
Configuring build triggers
Next, configure build triggers to automate when your pipeline runs. Go to the "Triggers" tab in your pipeline settings. You can set triggers to initiate builds automatically when code changes occur. Choose between continuous integration (CI) triggers or scheduled builds. This ensures that your code is always up-to-date and tested.
Running and Monitoring Builds
Executing builds
Once your pipeline is set up, execute builds by clicking "Run Pipeline." This action starts the build process, compiling your code and running tests. Monitor the progress in real-time through the Azure DevOps interface. You can see logs and outputs, helping you track the build status.
Analyzing build results
After the build completes, analyze the results to ensure everything works as expected. Check the build summary for any errors or warnings. Review test results to confirm that all tests pass. If issues arise, use the detailed logs to identify and fix problems. This analysis helps maintain code quality and reliability.
By following these steps, you efficiently manage your CI pipeline in Azure DevOps. You automate builds, reduce errors, and ensure your code remains robust and ready for deployment.
Implementing a CD Pipeline in Azure DevOps
To manage CI/CD effectively, you must implement a robust Continuous Deployment (CD) pipeline. Azure DevOps provides the tools you need to automate and streamline your deployment processes. By setting up a CD pipeline, you ensure that your applications are deployed consistently and efficiently across various environments.
Setting Up Release Pipelines
Creating a release pipeline
Access the Pipelines Section: Begin by navigating to the "Pipelines" section in Azure DevOps. Click on "Releases" to start creating a new release pipeline.
Define the Pipeline: Click on "New Pipeline" and select a template that suits your needs. You can also start from scratch if you prefer more control over the process.
Select Artifacts: Choose the build artifacts you want to deploy. These artifacts are the outputs from your CI pipeline, such as compiled code or packaged applications.
Configure the Pipeline: Define the stages of your release pipeline. Each stage represents a step in your deployment process, such as deploying to a staging environment or a production environment.
Configuring deployment stages
Add Deployment Stages: Click on "Add" to create deployment stages. Name each stage according to its purpose, like "Staging" or "Production."
Set Up Tasks: Within each stage, add tasks that perform specific actions. For example, you might include tasks to deploy code, run scripts, or configure settings.
Define Approvals and Gates: Set up approvals and gates to ensure quality and compliance. Approvals require manual intervention before proceeding, while gates automatically check conditions like successful tests or security scans.
Save and Create: Once configured, save your release pipeline. Click "Create" to finalize the setup. Your pipeline is now ready to manage CI/CD deployments.
Managing Releases
Deploying to different environments
Select the Environment: Choose the environment where you want to deploy your application. Azure DevOps allows you to manage CI/CD by deploying to multiple environments, such as development, staging, and production.
Initiate Deployment: Click "Deploy" to start the deployment process. Azure DevOps will execute the tasks defined in your release pipeline for the selected environment.
Monitor Progress: Keep an eye on the deployment progress through the Azure DevOps interface. You can view logs and outputs to ensure everything runs smoothly.
Monitoring and troubleshooting deployments
Check Deployment Status: After deployment, check the status to confirm success. Azure DevOps provides detailed logs and reports to help you manage CI/CD effectively.
Identify Issues: If problems arise, use the logs to identify the root cause. Look for error messages or warnings that indicate what went wrong.
Troubleshoot and Resolve: Address any issues by adjusting your pipeline configuration or fixing code errors. Rerun the deployment once resolved to ensure success.
By following these steps, you manage CI/CD with Azure DevOps efficiently. You create a reliable CD pipeline that automates deployments, reduces errors, and ensures your applications reach users quickly and reliably.
Best Practices for CI/CD with Azure DevOps
Ensuring Security and Compliance
Implementing security measures
To protect your CI/CD pipeline, you must implement robust security measures. Start by enabling multi-factor authentication (MFA) for all users. This step adds an extra layer of protection. Regularly update access permissions to ensure only authorized personnel have access. Use secure connections like HTTPS to encrypt data in transit. Additionally, scan your code for vulnerabilities using integrated security tools. These practices help safeguard your pipeline from potential threats.
Compliance considerations
Compliance is crucial in managing CI/CD. You need to adhere to industry standards and regulations. Begin by identifying the compliance requirements relevant to your project. Document these requirements and integrate them into your pipeline processes. Use Azure DevOps to track compliance metrics and generate reports. Regular audits ensure that your pipeline remains compliant. By focusing on compliance, you maintain trust and avoid legal issues.
Optimizing Pipeline Performance
Tips for faster builds
Speed is essential in CI/CD. To achieve faster builds, start by optimizing your codebase. Remove unnecessary dependencies and streamline your code. Use parallel jobs in Azure Pipelines to run tasks simultaneously. This approach reduces build time significantly. Cache dependencies to avoid downloading them repeatedly. Monitor build times and identify bottlenecks. By following these tips, you enhance efficiency and reduce delays.
Reducing deployment times
Efficient deployments are key to successful CI/CD. Begin by automating repetitive tasks within your deployment process. Use scripts to handle configurations and settings. Deploy smaller, incremental updates instead of large releases. This strategy minimizes downtime and risk. Monitor deployment logs to identify slow stages. Optimize these stages for better performance. By focusing on these areas, you ensure quick and reliable deployments.
By implementing these best practices, you enhance your CI/CD processes with Azure DevOps. You create a secure, compliant, and efficient pipeline that supports your development goals.
Common Challenges and Solutions
Troubleshooting Pipeline Failures
Identifying common errors
When managing CI/CD pipelines, you may encounter errors that disrupt your workflow. Common issues include:
Build Failures: These occur when code doesn't compile or tests fail.
Deployment Errors: These happen when applications don't deploy correctly to environments.
Configuration Mistakes: Incorrect settings can lead to unexpected behavior.
To identify these errors, regularly review logs and error messages. Use Azure DevOps' detailed logs to pinpoint where things go wrong.
Solutions and workarounds
Once you identify errors, apply solutions to resolve them:
Fix Code Issues: Correct syntax errors or failing tests in your codebase.
Adjust Configurations: Ensure all settings align with your deployment requirements.
Use Rollback Strategies: Implement rollback plans to revert to previous versions if needed.
By addressing these areas, you maintain a smooth pipeline operation.
Managing Complex Deployments
Strategies for handling complexity
Complex deployments require careful planning. Here are strategies to manage them:
Break Down Deployments: Divide large deployments into smaller, manageable parts.
Use Feature Flags: Enable or disable features without deploying new code.
Implement Blue-Green Deployments: Maintain two environments to switch between for updates.
These strategies help you control complexity and reduce risks.
Tools and resources
Utilize tools and resources to streamline complex deployments:
Azure DevOps Extensions: Enhance functionality with extensions tailored to your needs.
Monitoring Tools: Use tools like Azure Monitor to track performance and detect issues.
Documentation: Keep detailed documentation of your deployment processes.
By leveraging these tools, you ensure efficient and reliable deployments.
FAQs on CI/CD with Azure DevOps
Addressing Common Questions
How to handle version control?
Managing version control is crucial in CI/CD. You should use Git, a popular version control system, to track changes in your code. Start by creating a repository in Azure Repos or GitHub. Commit your code regularly to keep a history of changes. Use branches to work on new features or fixes without affecting the main codebase. Merge changes back into the main branch after thorough testing. This approach ensures that you maintain a clean and organized code history.
What are the costs involved?
Understanding the costs of using Azure DevOps helps you plan your budget effectively. Azure DevOps offers a free tier with basic features suitable for small teams. For more advanced features, you may need a paid plan. Costs depend on the number of users and the services you use, such as additional build minutes or cloud-hosted agents. Review Azure DevOps pricing details on their website to choose the best plan for your needs. This knowledge helps you manage expenses while leveraging powerful CI/CD tools.
Using Azure DevOps for CI/CD offers you numerous benefits. It enhances collaboration, reduces errors, and accelerates delivery times. You gain a powerful platform to automate and streamline your workflows. Implementing best practices ensures security, compliance, and efficiency. Continuous improvement keeps your processes up-to-date and effective. Embrace these strategies to maintain high-quality standards and drive innovation in your projects.
See Also
Comprehending Microsoft Azure DevOps for Programmers
Incorporating GitHub into Azure DevOps for Smooth Development
Azure DevOps for Microservices: Simplifying Development Processes
Optimal Approaches for Handling Code Repositories with Azure Repo